
 Soonqian
How To Fix Strapping Machine
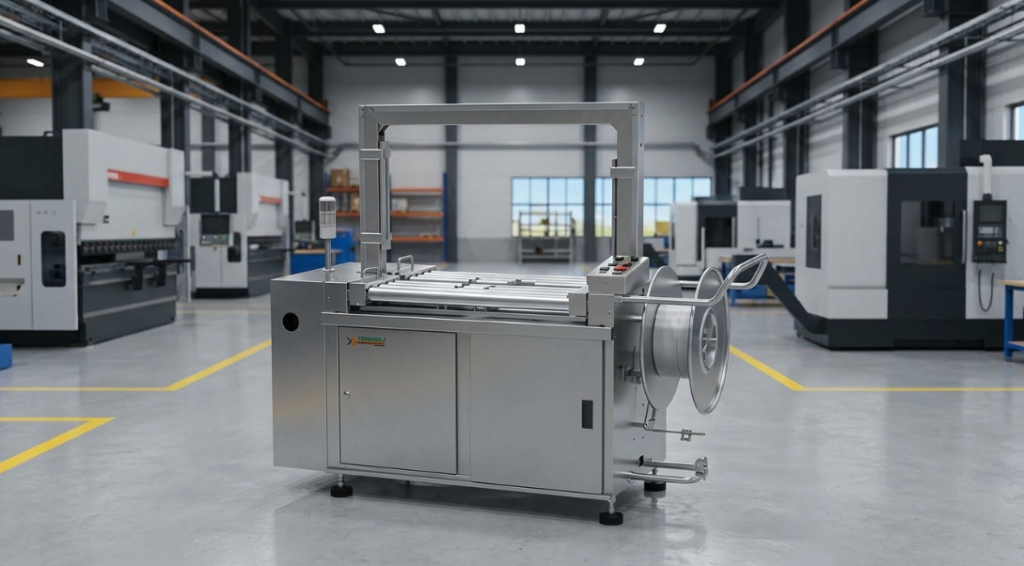
To fix your strapping machine quickly, start by performing a “Power-Reset & Path Clear”: first disconnect the power supply completely to ensure safety, and open the upper cover to check whether the strap is stuck. If you encounter a strap, don’t drag it hard, and use needle-nose pliers to clean up the plastic residue inside, especially the small fragments in the belt wheel and guide rail. Check if the tape is worn correctly and if the heating plate is stuck with the burnt plastic. After finishing, turn the tension knob back to the standard value, re-belt it, and run an idling test. If the machine still does not deliver the belt, or the welding is not firm, focus on checking whether the micro switch is blocked by dust, which is the culprit of many equipment strikes.
Step1: Preparation Before Maintenance
The power cord must be completely unplugged before maintenance. The capacitors or heating components inside may still have residual heat. In addition, remember to wear gloves, the place where the belt wheel is delivered is very sharp, and there are often remnants of cutting hands near the welding head. Don’t hurt your hands in order to save trouble.
Step2: Checking And Cleaning
The most common problem with the packer is the cassette. Once the tape is not smooth, it usually piles up in the feeding mechanism.
Locate: Open the top cover.
Check the dead angle: turn on the flashlight and carefully look for the stuck belt along the guide rail.
Cleaning skills: I usually use needle-nose pliers to pull out a little bit, the action should be light. Don’t pry the roller with a screwdriver. If you scratch the surface of the wheel, the belt will definitely slip.
Clear roller: Make sure there are no fine plastic chips between the rollers. Once the thing gets stuck, the motor will run idle and the belt will not be sent out at all.
Vertical Packing
Vertical sealing servo, heat sealing servo
cold sealing servo, cutter servo
DKXL-650
Precision weighing or multi-head scales ensure consistent bag weight, with quality sensors enhancing packaging accuracy.
WP20
Automatically complete the processes of bag making, measuring, filling, sealing, bag cutting, etc., greatly improving the packaging speed.
Step3: Tension Adjustment And Heating Plate Inspection
If the machine sends the belt normally, but the belt just doesn’t lock, the problem usually lies in the tension setting or sealing system.
Tension knob: Too tight or too loose will cause the process to jam. It is recommended to refer directly to the manual and return the knob to the factory default point.
Heating blade: If there is burnt plastic residue on the heating blade, the tape will not be welded firmly. When the machine is completely cooled down, scrape off the residue with a softer tool, the heating plate is clean, and the sealing quality will naturally go up.
Step4: Easily Overlooked Link: Micro Switch
If the channel is clean and the tension is adjusted, the machine still cannot move, then the probability is that the micro switch is the problem. This thing is a “sensor”, which is responsible for telling the machine whether the belt is in place. Usually the production environment is dusty, or debris falls into the switch slot, it will not trigger the signal, resulting in the machine has been in standby. I suggest using compressed air to blow on the switch box a few times to clean the dust inside. Although this step is small, it can often solve many seemingly complex faults.
Step5: Final Verification: No-Load Test
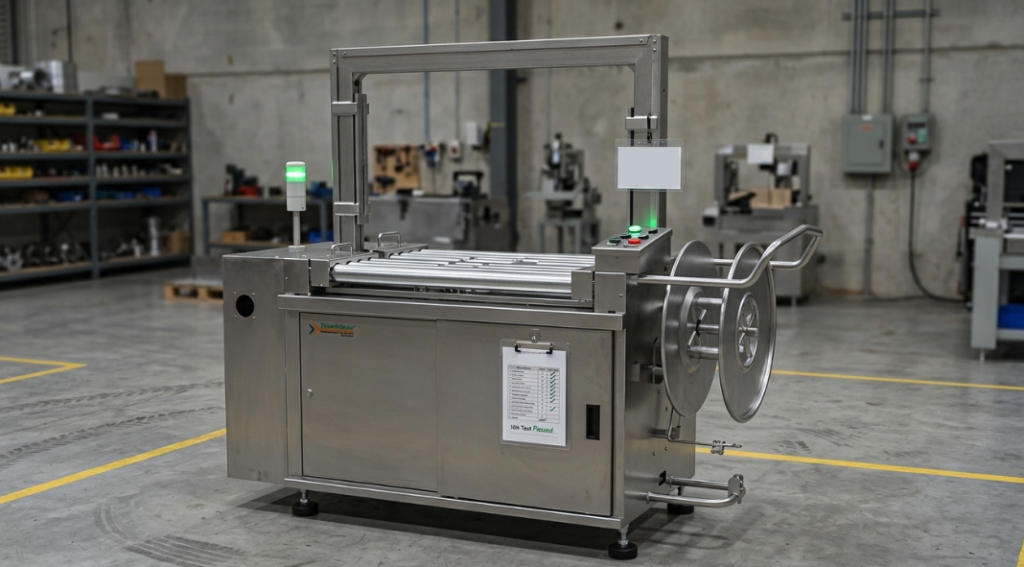
After all steps are completed, a loop test must be run. Re-apply the tape reel, check for knots, fasten the lid and then power on. Don’t put the package first, just let the machine run one time. Check whether the actions of belt feeding, tightening, welding and cutting are smooth. If there is no problem with this set of processes, then this machine can be safely put back into the production line to continue using.
Author: Mark Thompson
I’m a seasoned warehouse operations technician with over 11 years of experience in equipment maintenance. I’ve spent countless hours in the shop troubleshooting packaging machinery and firmly believe that with the right guidance, most common mechanical issues can be solved without calling an expensive repair service.
